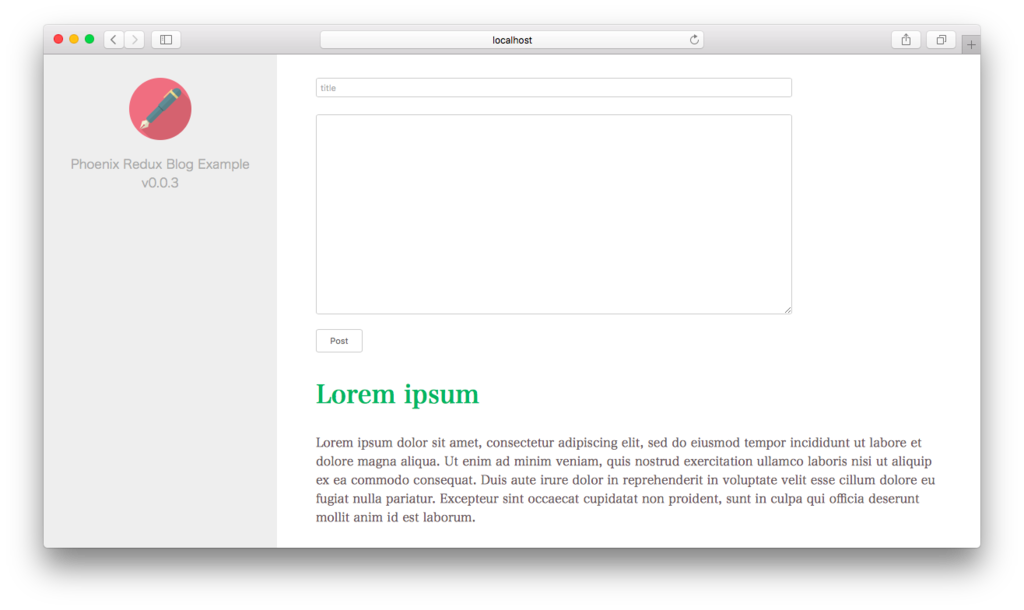
Elixir、Phoenixの勉強のための題材として、ブログシステムで作ってみることにした。飽きるまでのんびり改修していこうと思う。Elixir/Erlangの学習はすごいE本を並行して進める。
Elixir、Phoenixのインストールは完了しているものとする。
今回のゴール
- 記事の投稿ができる
- 記事の閲覧ができる
動作環境
- Erlang 17.5
- Elixir 1.2.0
- Phoenix 1.1.4
- node.js 4.2.1
プロジェクトの作成
プロジェクトを作成する。ただし、自分みたいなフロントな人間は真っ先に--no-brunchを付けたくなると思うんだけど--no-brunchを付けずにあとから手動で変更したほうが楽だという話しを聞くので参考にしてみる。
$ mix phoenix.new phoenix_redux_blog
参考にしたのは以下の記事。
以下、基本的には上記の記事に沿うが、差分としてはbabel-preset-stage-0とstylusを入れている点。その他詳細は上記の記事を参照のこと。
- node_modulesの削除
$ rm -rf node_modules
- dependenciesの掃除
{
  "repository": {
  },
  "dependencies": {
  }
}
開発用パッケージのインストール
$ npm i -D watchify browserify babelify uglify-js
$ npm i -D babel-preset-es2015 babel-preset-react babel-preset-stage-0 stylus
- .babelrc
{
  "presets": [
    "es2015",
    "react",
    "stage-0"
  ]
}
- package.json
{
  "repository": {},
  "scripts": {
    "build-assets": "cp -r web/static/assets/* priv/static",
    "watch-assets": "watch-run -p 'web/static/assets/*' npm run build-assets",
    "build-js": "browserify -t babelify web/static/js/app.js | uglifyjs -mc > priv/static/js/app.js",
    "watch-js": "watchify -t babelify web/static/js/app.js -o priv/static/js/app.js -dv",
    "watch-stylus": "stylus web/static/stylus/ --watch  --out  priv/static/css/",
    "build-stylus": "stylus web/static/stylus/ --out priv/static/css/",
    "build": "npm run build-assets && npm run build-js && npm run build-stylus",
    "watch": "npm run watch-assets & npm run watch-js & npm run watch-stylus",
    "test": "echo \"Error: no test specified\" && exit 1",
    "compile": "npm run build"
  },
  "dependencies": {
      ...
watchers: [npm: ["run", "watch"]]に変更して、npm scriptでwatchできるようにする。
- config/dev.exs
config :goal_server, GoalServer.Endpoint,
  http: [port: 4000],
  debug_errors: true,
  code_reloader: true,
  cache_static_lookup: false,
  check_origin: false,
  watchers: [npm: ["run", "watch"]]
これでJS周りの環境構築は完了
API作成
JSON APIを作成。ひとまず、タイトルの記事本文のみ作成。gen.jsonではなくgen.htmlしてから、JSONを返すようにしたほうが、UIが自動生成されるため便利という情報もあったけど、作業増えそうだったので一旦ペンディング。気になる方は以下を参考にするとよいかも。
以降同じテーマの記事があったのでそちらを参考にさせていただく。
APIを生成する。
$ mix phoenix.gen.json Post posts title:string body:text
指示通り、web/router.exに追記する。
web/router.ex
scope "/api", PhoenixReduxBlog do
  pipe_through :api
  resources "/posts", PostController, except: [:new, :edit]
end
- PostgreSQLを起動しておく
$ postgres -D /usr/local/var/postgres
- ecto.createとecto.migrateを実行
$ mix ecto.create
$ mix ecto.migrate
ここでAPIを確認してみる。以下のように一覧が確認できる。よさそう。
$ mix phoenix.routes

page_path  GET     /               PhoenixReduxBlog.PageController :index
post_path  GET     /api/posts      PhoenixReduxBlog.PostController :index
post_path  GET     /api/posts/:id  PhoenixReduxBlog.PostController :show
post_path  POST    /api/posts      PhoenixReduxBlog.PostController :create
post_path  PATCH   /api/posts/:id  PhoenixReduxBlog.PostController :update
           PUT     /api/posts/:id  PhoenixReduxBlog.PostController :update
post_path  DELETE  /api/posts/:id  PhoenixReduxBlog.PostController :delete
次に参考記事通り、データを追加してみる
$ curl -v -H "Accept: application/json" -H "Content-type: application/json" -X POST -d '{"post": {"title": "phoenixでAPIをつくってみる", "body": "APIのテストだよー" }}' http://localhost:4000/api/posts
取得。
$ curl -v -H "Accept: application/json" -H "Content-type: application/json" http://localhost:4000/api/posts
{"data":[{"title":"phoenixでAPIをつくってみる","id":1,"body":"APIのテストだよー"}]}
ちゃんと返ってきてる。
Reactを使えるようにする
ここでReact周りの準備をしておく。
余分なものを削除。web/templates/layout/app.html.eexを以下のように編集
<!DOCTYPE html>
<html lang="ja">
  <head>
    <meta charset="utf-8">
    <meta http-equiv="X-UA-Compatible" content="IE=edge">
    <meta name="viewport" content="width=device-width, initial-scale=1">
    <meta name="description" content="">
    <meta name="author" content="">

    <title>Hello PhoenixReduxBlog!</title>
    <link rel="stylesheet" href="<%= static_path(@conn, "/css/app.css") %>">
  </head>

  <body>
      <main id="root"></main>
      <script src="<%= static_path(@conn, "/js/app.js") %>"></script>
  </body>
</html>
Reactのインストール
npm i -S react react-dom
web/static/js/app.jsを以下のように編集。
設定が上手くいっていればJSの変更もリアルタイムに反映されるはず。
ひとまず、#rootに<h1>Hello, World!!</h1>をマウントする。
import "../../../deps/phoenix_html/web/static/js/phoenix_html"
import React from 'react';
import { render } from 'react-dom';

render(<h1>Hello, World!!</h1>, document.querySelector('#root'));
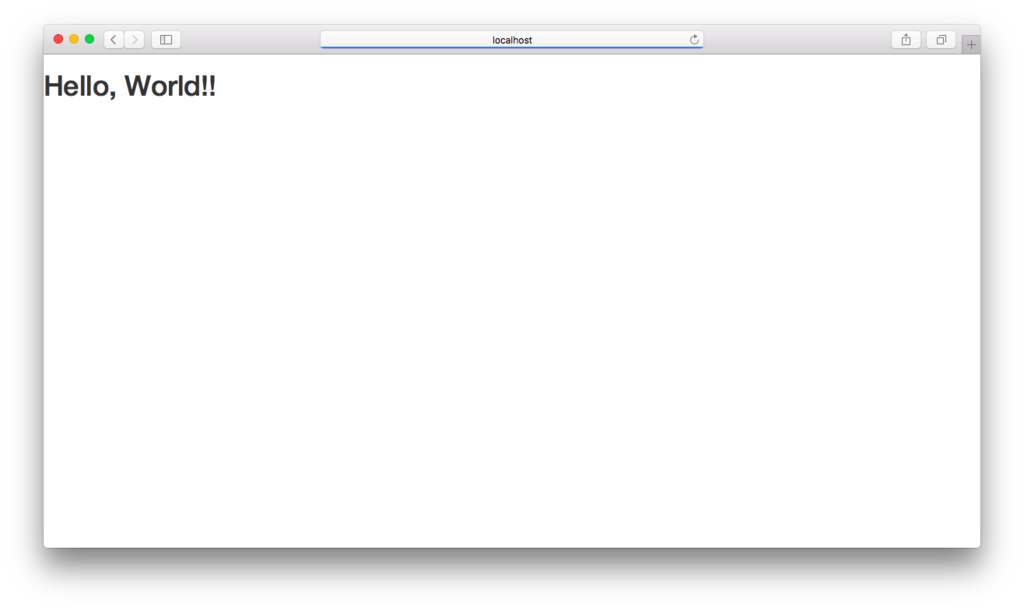
localhost:4000にアクセスして、Hello, World!!が表示されていればOK。

よさそう。
Reduxを入れて、最初に登録したデータを表示するところまでやってみる
パッケージの追加
npm i -S redux react-redux redux-api-middleware redux-logger redux-actions
Entry
web/static/js/app.jsを以下のように編集。なお以降のJSファイルは原則web/static/js/配下に配置しているものとする。
web/static/js/app.js
import "../../../deps/phoenix_html/web/static/js/phoenix_html";
import React from 'react';
import { render } from 'react-dom';
import { Provider } from 'react-redux';
import configureStore from './stores/configure-store';
import App from './containers/app';

const store = configureStore();

render(
  <Provider store={store}>
    <App />
  </Provider>,
  document.querySelector('#root')
);
Store
middlewareにはapi-middlewareとloggerを使用する。
middlewareを適用してストアを生成する。
stores/configure-store.js
import { createStore,  applyMiddleware } from 'redux';
import reducers from '../reducers'
import { apiMiddleware } from 'redux-api-middleware';
import createLogger from 'redux-logger';

export default () => {
  const logger = createLogger();
  return createStore(
      reducers,
      applyMiddleware(apiMiddleware, logger)
  );
};
Action
redux-api-middlewareを使用している。
fetchArticlesが呼ばれたら、エンドポイント/api/postsにGETし、記事を取得してくる。
成功時には取得記事がpayloadに詰められたActionが生成され、reducerに配送される。
actions/blog.js
import { CALL_API } from 'redux-api-middleware';

export const fetchArticles = () => {
  return {
    [CALL_API]: {
      endpoint: '/api/posts',
      method: 'GET',
      types: [
        'REQUEST_FETCH_POSTS',
        {
          type: 'SUCCESS_FETCH_POSTS',
          payload: (action, state, res) => res.json().then(payload => payload),
        },
        'FAILURE_FETCH_POSTS',
      ],
    }
  }
}
Reducer
RootReducer。ひとまずblogにしとく。
reducers/index.js
import { combineReducers } from 'redux';
import blog from './blog';

const rootReducer = combineReducers({
  blog,
});

export default rootReducer;
blog rediucer。投稿記事のフェッチ成功時にpostsに内容を突っ込んでおく。
reducers/blog.js
import { handleActions } from 'redux-actions';

const defaultState = {
  posts: [],
};

export default handleActions({
  SUCCESS_FETCH_POSTS: (state, action) => {
    return { posts: action.payload.data };
  },
}, defaultState);
Container
containers/app.js
import { connect } from 'react-redux';
import { bindActionCreators } from 'redux';
import Blog from '../components/blog';
import * as blog from '../actions/blog';

const mapStateToProps = state => state;

const mapDispatchToProps = dispatch => ({
  actions :{
    blog: bindActionCreators(blog, dispatch),
  }
});

export default connect(
  mapStateToProps,
  mapDispatchToProps
)(Blog);
Components
mount時に記事を取りに行って、先頭記事のタイトルのみ表示している。
記事がない場合はテキストloadingを表示する。
components/blog.js
import React, { Component } from 'react';

export default class Blog extends Component {
  constructor(props) {
    super(props);
  }

  componentDidMount() {
    this.props.actions.blog.fetchArticles();
  }

  render() {
    return (
      <h1>
        {
          this.props.blog.posts.length !== 0
            ? this.props.blog.posts[0].title
            : 'loading'
        }
      </h1>
    );
  }
}

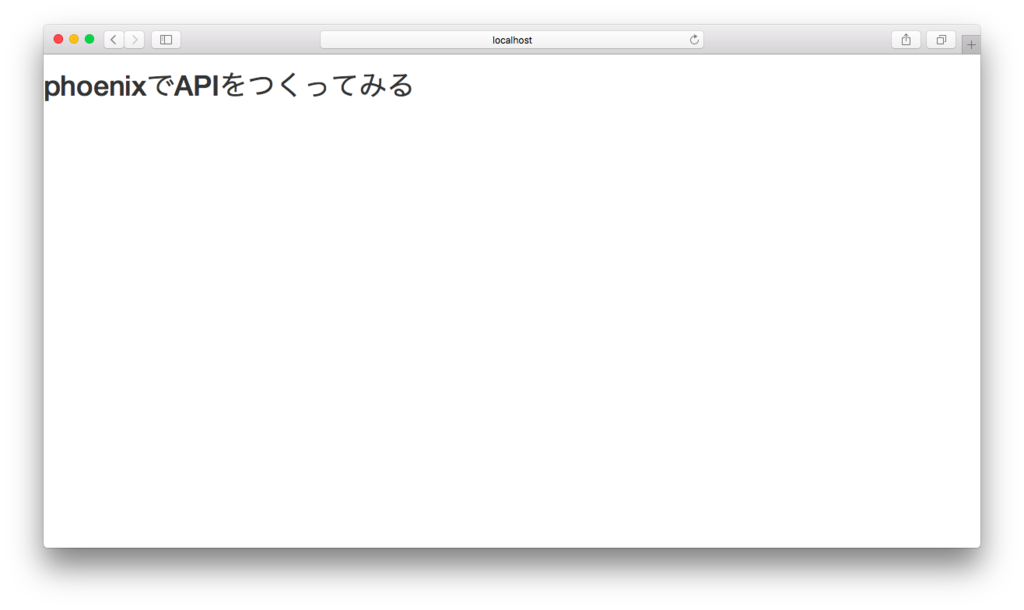
表示された。 ここまで実装したら見た目とか、フォーム、actionをゴリゴリ書いてく。 ここまでのコードは以下。
記事の投稿・閲覧の実装
ここでスタイルの追加やコンポーネントの分割を行っている。
Components
Content
サイドメニューとコンテンツ部分に分割した。サイドメニューには今は何もないので省略。 取得した記事をひたすら表示していく。
import React, { Component, PropTypes } from 'react';
import PostForm from './post-form';

export default class Contents extends Component {
  renderPosts() {
    return this.props.posts.map(post => {
      return (
        <div>
          <h2 className="contents__title">{post.title}</h2>
          <p className="contents__body">{post.body}</p>
        </div>
      );
    })
  }

  render() {
    return (
      <div className="contents">
        <PostForm addPost={this.props.post} />
        {
          this.props.posts.length !== 0
            ? this.renderPosts()
            : 'loading'
        }
      </div>
    );
  }
}
PostForm
postボタンが押下されるとtitle, bodyを引数にアクションaddPostを呼ぶ。
import React, { Component, PropTypes } from 'react';

export default class PostForm extends Component {
  constructor(props) {
    super(props);
    this.state = { title: '', body: '' };
  }

  onTitleChange(e) {
    this.setState({ title: e.target.value });
  }

  onBodyChange(e) {
    this.setState({ body: e.target.value });
  }

  onSubmit(e) {
    e.preventDefault();
    const title = this.state.title.trim();
    const body = this.state.body.trim();
    if (!title || !body) return;
    this.props.addPost({ post: { title, body } });
  }

  render() {
    return (
      <div className="post-form">
        <input
           type="text"
           className="post-form__input"
           onChange={this.onTitleChange.bind(this)}
           placeholder="title"
        />
        <textarea
          className="post-form__textarea"
          onChange={this.onBodyChange.bind(this)}
        />
        <input
          className="post-form__button"
          type="submit"
          onClick={this.onSubmit.bind(this)}
          value="Post"
        />
      </div>
    );
  }
}
Action
Actionに投稿用のものを追加した。
export const addPost = (payload) => {
  return {
    [CALL_API]: {
      headers: { 'Content-Type': 'application/json', 'Accept': 'application/json' },
      endpoint: '/api/posts',
      method: 'POST',
      body: JSON.stringify(payload),
      types: [
        'REQUEST_ADD_POST',
        {
          type: 'SUCCESS_ADD_POST',
          payload: (action, state, res) => res.json().then(payload => payload),
        },
        'FAILURE_ADD_POST',
      ],
    }
  }
}
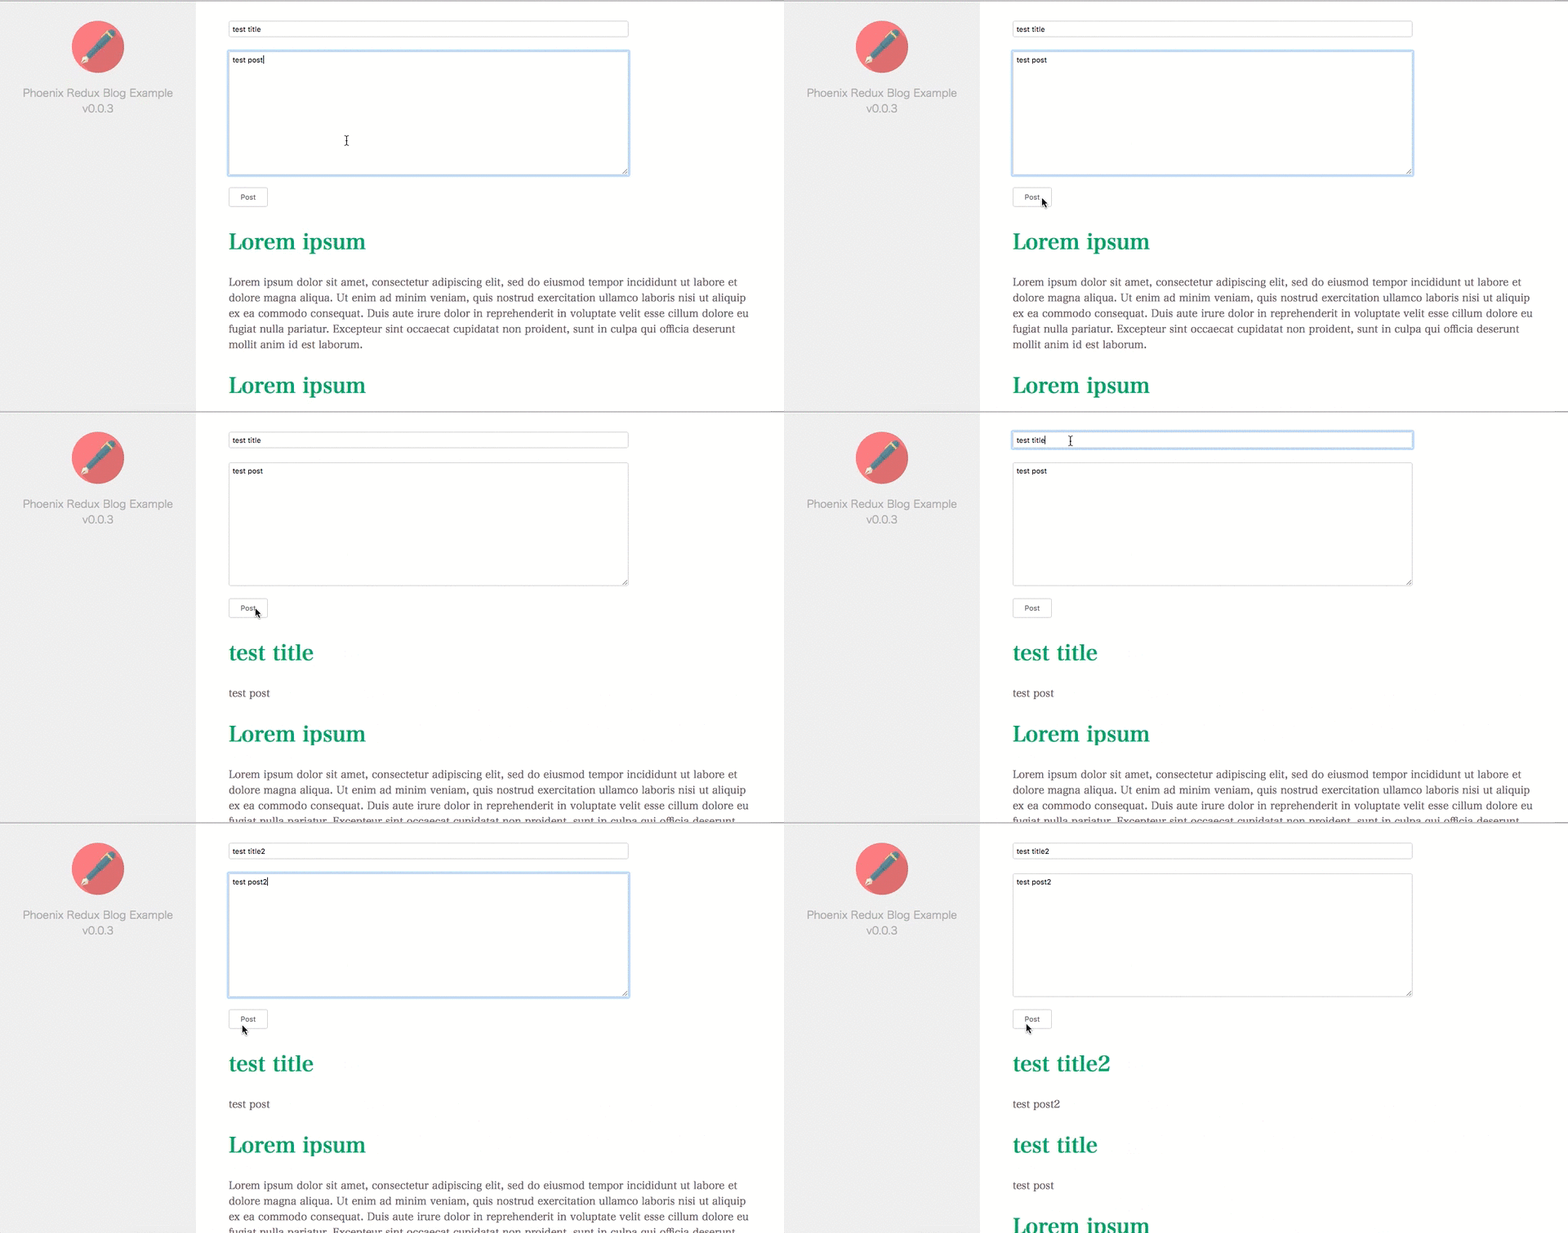
前回のものから大きな差分はこんなところ。 ひとまず記事の投稿・閲覧ができるようになった。

その他詳細は以下を参照ください。
TODO
- [ ] HerokuへのDeploy
- 試してみたが、今はなぜかstartに失敗してクラッシュしている.更のプロジェクトで試してみる
- [ ] 認証、ログイン機能
- [ ] SSR
- [ ] Channelによる記事の更新
- [ ] 記事の編集・削除
- [ ] インクリメンタル検索
- [ ] ページング
- [ ] 管理画面
- [ ] コメント機能
所感
Elixir全く書いていない